Performing a sheathing at home takes about thirty minutes. This technique is much simpler than applying gel nails with capsules or template. It is recommended for those who wish to keep a simple look and natural nails. This article will show you how to make a gel sheath. Just keep reading!
Here are the steps to follow for a successful gel sheathing at home:
- Disinfect your hands.
- Push back cuticles with a cuticle pusher.
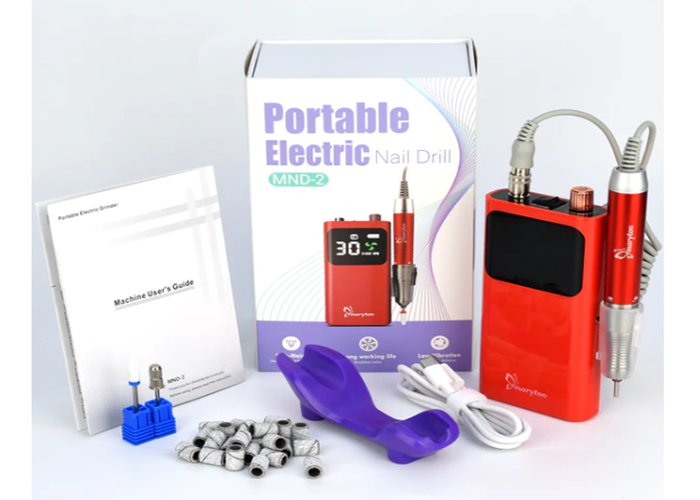
- Use an electric nail drill to file the center and sides of the nail, in order to give it a porous surface.
- Apply a first coat of keratin-enriched gel.
- Apply a coat of builder gel to bring out the rounded side.
- Apply a layer of semi-permanent varnish of your choice.
- Apply the top coat to protect the varnish.
- Make a slight stroke of the file.
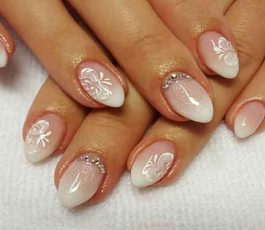
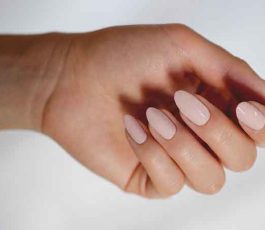
There you go, your nails are both strengthened and protected, in addition to revealing a pretty color. You can also let your creativity run wild by making Nail Art with stickers or rhinestones of your choice.
Read also: How To Fix False Nails With Adhesive Tabs?


