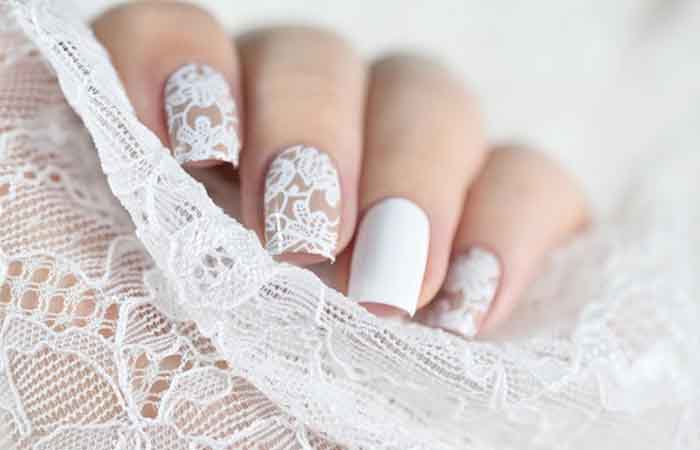
If there ever is a day when you want to play the game, it’s your wedding day. On this beautiful occasion, trend obliges, nail-art makes us look sweet. To adopt it with refinement, we will show you the secret of a lace-inspired nail-art.
Step 1: the base and the varnish
It is used to protect the nail and to fix the varnish well. Apply a thin layer and let dry for 5 minutes. We will then apply a first coat of old pink varnish. Leave to dry for 5 to 10 minutes, then apply a second coat. We let it dry for 20 minutes.
Step 2: stamping
We move on to stamping. The varnish must be very dry so that the stamp doesn’t come to leave traces. White varnish is applied in a thick layer on its pattern. Immediately, scrape off the excess with the squeegee.
Step 3: print the pattern
Quickly press the stamp on the pattern. And we will reproduce the same movement on the nail to print the pattern: first place the edge of the stamp on the edge of the nail, and press to then cover the rest of the nail.
Step 4: clean the outline of the nail
Since the pattern is often larger than the nail, it protrudes a little on the skin. Simply soak a thin brush in nail polish remover and clean around the nail.
Step 5: the top coat
We let it dry for a few minutes, and apply a layer of top-coat on all the nails. It will allow a shinier finish and a longer hold.
Step 6: the heart stud
If desired, a small heart-shaped stud can be added to the thumb. Just put a small drop of top-coat on the back, and position it with tweezers where you want it.
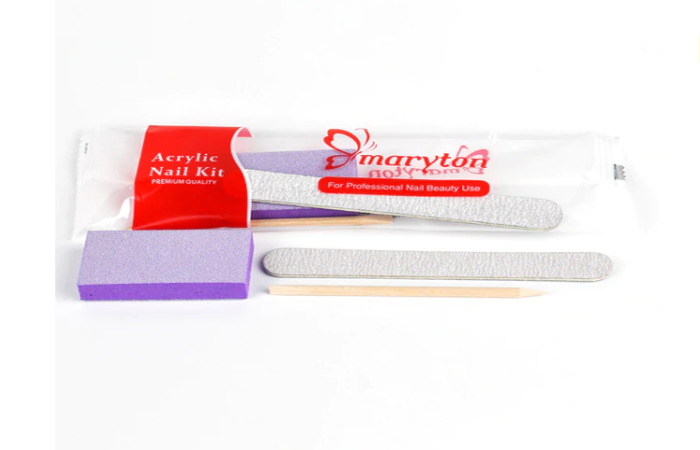
This nail art doesn’t need too professional technology, you can do it at home… just have manicure supplies! The whole process is also very simple. Are you going to test? If you are suffer from no nail tools, don’t be panic! We have everything all you need in nail supply store online.
Read also: The Minimal Nail Art Are We Starting?
